Getting Organized: Maintenance (part 4/4)

The trick to maintenance is doing it, but in a way that feels manageable to your workload, effort, and unique style of working.  This led me to the creation of Tips 4 & 5.

Tip #4: Be kind to yourself.  I like to focus my attention on all the things I am accomplishing rather than chastising myself for all the tasks still outstanding on my spreadsheet.  It helps me feel motivated to attack those less desirable, but mandatory tasks.

Tip #5: Work slowly and steadily to get things done.  Create new habits for yourself.  Here are some of my new and pre-existing habits that work well for me to stay organized.

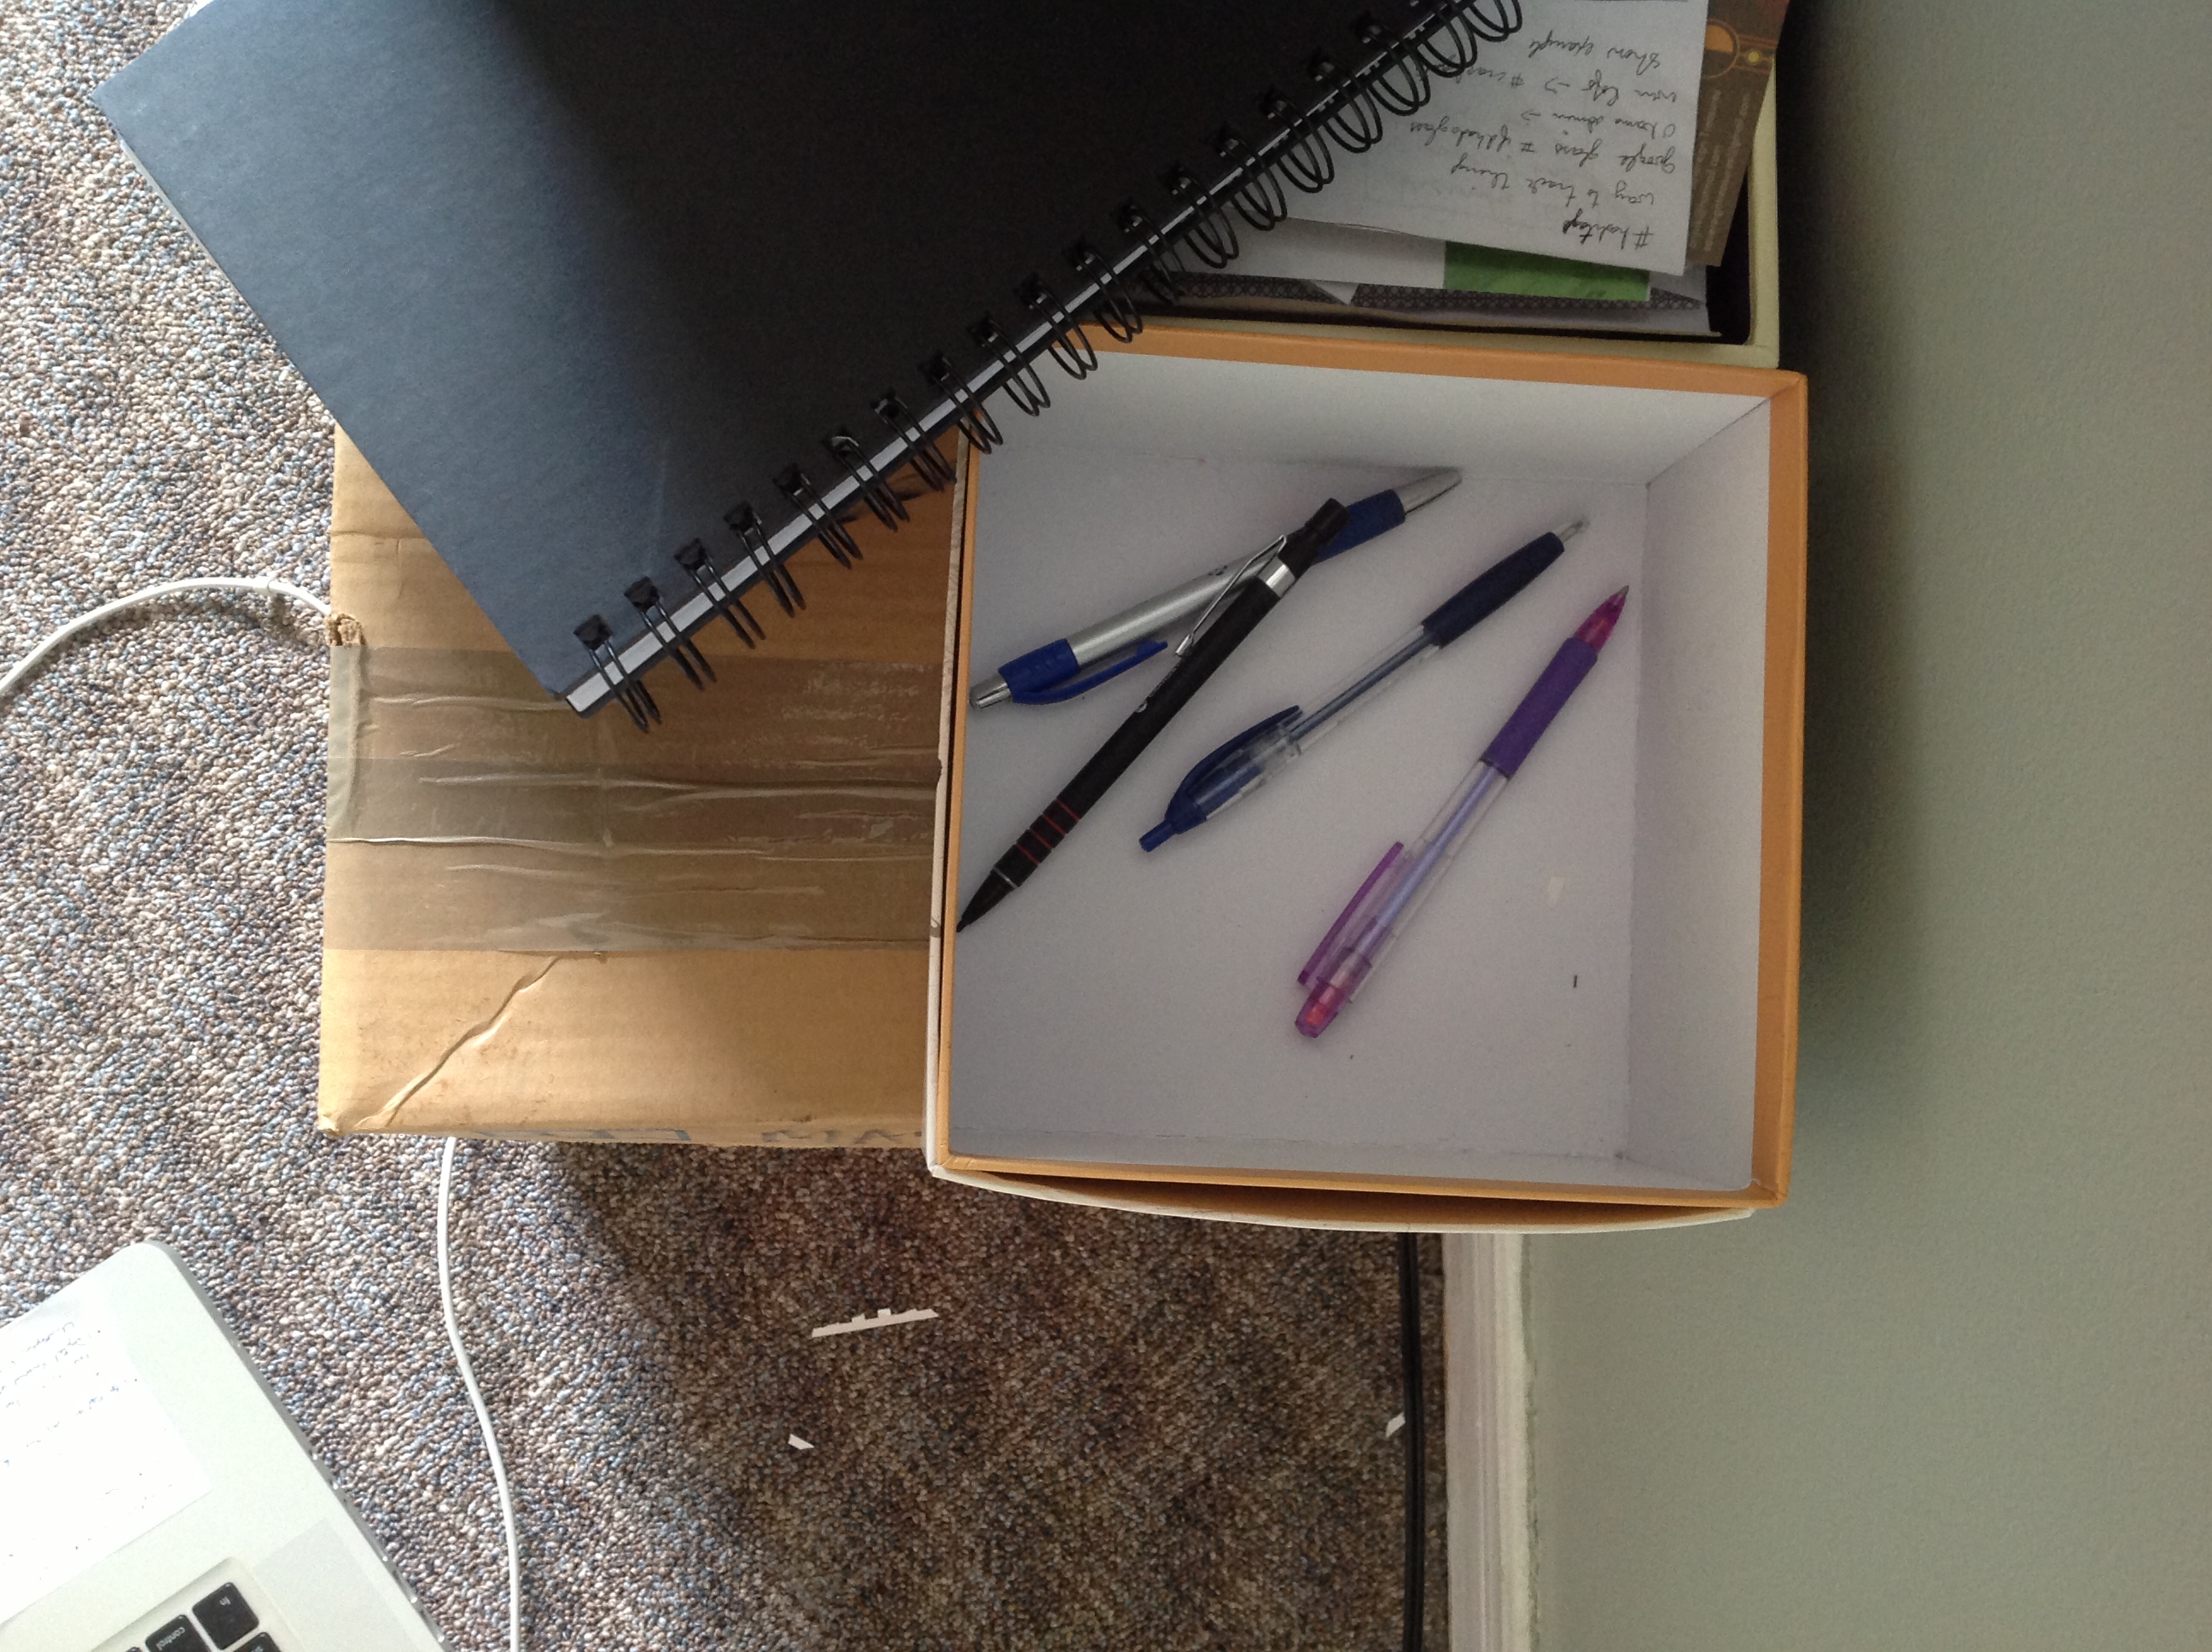
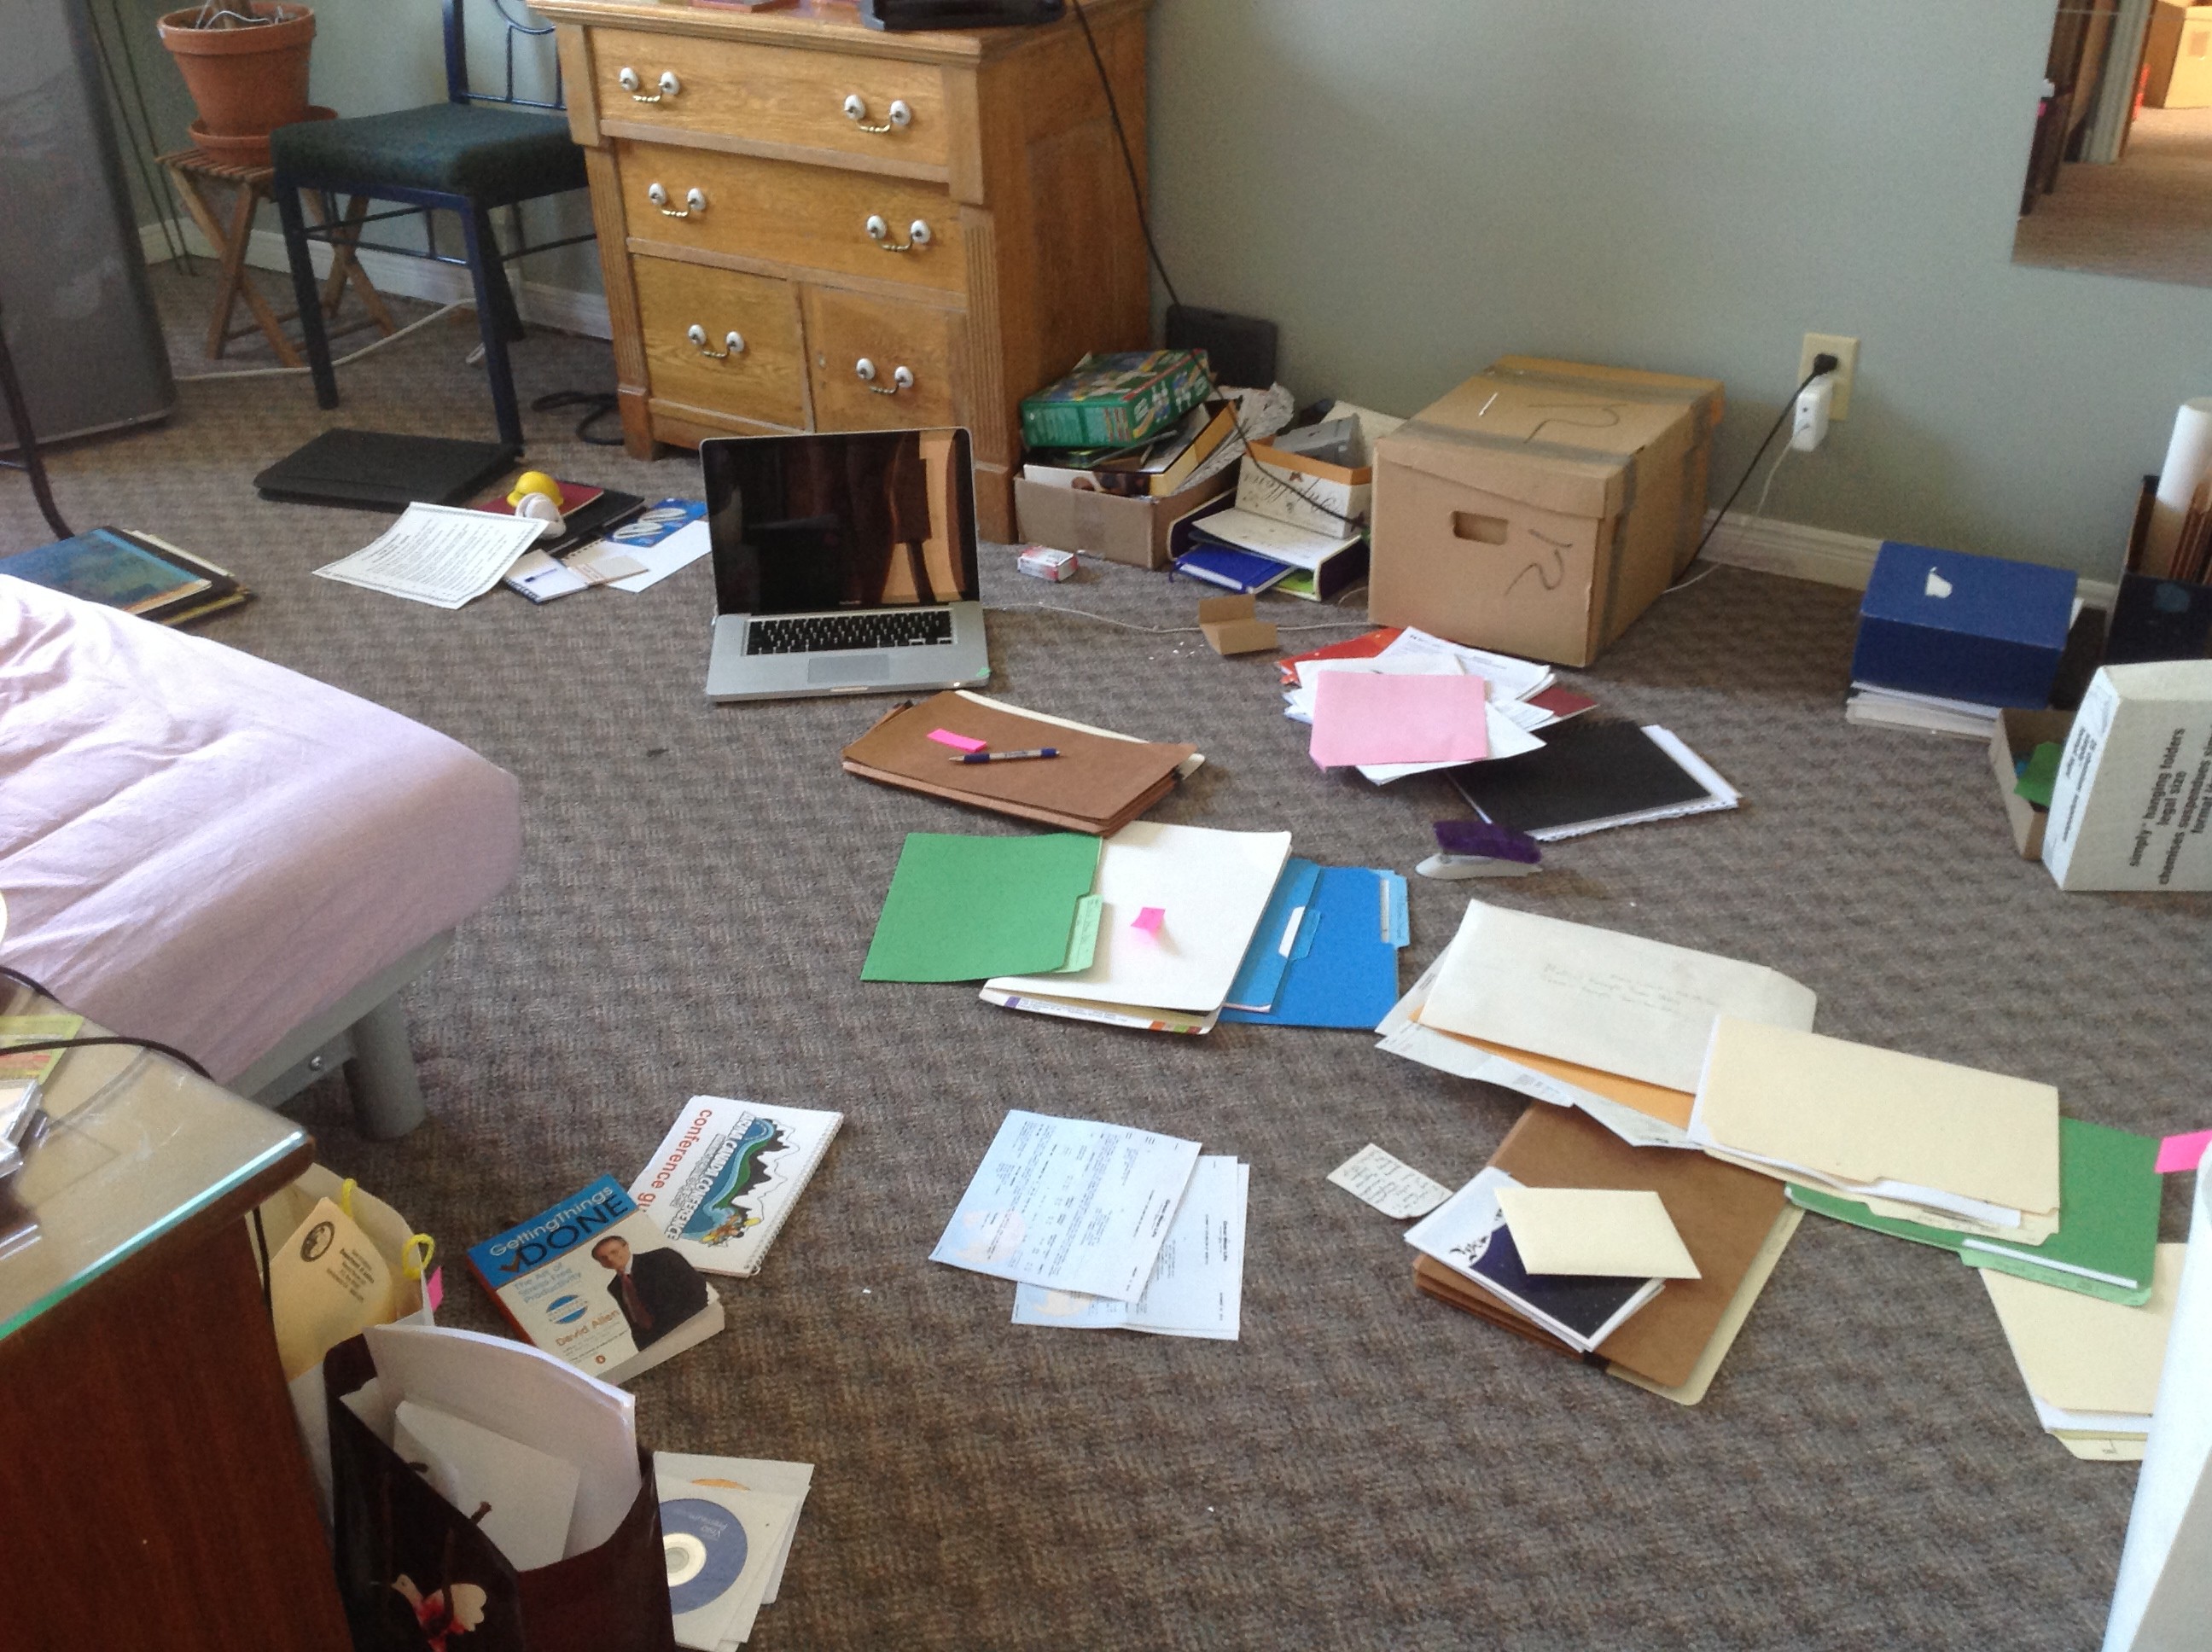
  1. Always have a secure place to record anything that needs to be done, no matter where you are.  In my house I have an easily accessible, yet discrete in-box with post-its nearby and a pen.  On my smartphone I maintain a note called GTD for jotting things down when I’m on the go.
  2. The weekly review.  David Allen stresses the importance of the weekly review and I couldn’t agree more.  Years ago, even before I read the GTD book, I got into the habit of writing a “to-do” list at work every Friday afternoon for the following week.  I liked it because it gave me a starting point for Monday, it was a chance for me to evaluate and reprioritize my workload, and it meant I didn’t have to spend all weekend thinking about what I needed to do next week.  Now I’ve expanded the weekly review to include my personal life as well and I find it really keeps me on track.  This is also an opportunity to review and integrate all those post-its and notes.
  3. Break large, intimidating projects into small, manageable steps that can be accomplished, i.e. the starting point that keeps you moving forward.
  4. Prioritize and perform tasks in relation to short-term and long-term goals.
  5. I’m allowed to work on whatever I want, provided there are no pressing deadlines, as long as I’m being productive or knocking something off my list.

Other key factors for ensuring I maintain my system include having access to my spreadsheet no matter where I am.  For the moment I have my spreadsheet in my Dropbox account, which is linked to my laptop, tablet, and smartphone so that I can always see what I have to do at any given time.

I hope you enjoyed reading the series.  Feel free to download a “Projects and Actions Template” and “5 Simple Tips for Getting Organized” at Smart Info Management.

Getting Organized: Seeing Results (part 3/4)

I processed everything in my “in-box” over a couple of weeks.

In-Box emptied of small paper slips.  The box has since been replaced with something nicer.

In-Box emptied of small paper slips. The box has since been replaced with something nicer.

Some items, or tasks, were too massive or not important enough to complete at that time, but they were still duly noted on my tracking spreadsheet.

Projects organized and slated for future actions.

Projects organized and slated for future actions.

The Big Purge: Shred, Recycle, Toss.

Shred, Recyle, Toss.  I had quite a collection!

I had quite a collection!

At the end of my time as a GTD guinea pig I had accomplished some important things.

  1. I made space for my home office and set everything up.
  2. I identified future projects and recorded them on my spreadsheet so that they wouldn’t be occupying memory power in my brain.
  3. I purged a lot of stuff.
  4. I developed a system to track and record all of the things that need to be done in both my personal and professional life.  This was partially based on GTD methodology and partially based on my own experiences and ideas.

Throughout the experiment I was continually reminded of a key factor I noticed from my professional experiences many years ago.  In order to be organized and stay that way everything needs a place.  So this is Tip #3: Everything Needs a Home (even the handmade lace coasters, which incidentally were a gift from my mother).

Although the tip is succinctly stated and sounds easy, sometimes it’s harder to put into practice than it seems.  Sometimes part of finding a home for something means physically purchasing a new piece of furniture or a new external hard drive to store all of your items.  But one thing is guaranteed, if you don’t have a place to put an electronic or physical item, it will cause clutter, pile-ups, and backlog.

Stay tuned for next week’s gripping conclusion to the Getting Organized series on how to maintain what you started.

Getting Organized: Dealing with Curveballs (part 2/4)

I used GTD methodology to guide me in processing and actioning the to-do pile. The method recommends processing tasks according to the actions required to complete them and then doing them, rather than doing and processing simultaneously.  I followed Tip #1: Preparation is Key, except this time I prepared materials necessary for processing and doing tasks, such as filing supplies and bags for trash and recycling..  I also designated time to work on the project.

David Allen recommends creating different lists to keep everything organized, but I modified this into an Excel spreadsheet that works for me.

Sample of my GTD spreadsheet.  Note the tabs on the bottom.

Sample of my GTD spreadsheet. Note the tabs on the bottom.

Initially I was rapidly processing the pile either by doing the action or capturing it on the spreadsheet for later and then I hit…the dreaded curveball. Curveballs are those exceptional items, or objects, you need to keep but just don’t seem to “fit” anywhere.  The first one seemed innocuous but stopped me in my tracks.

Handmade lace coasters aka "curveball".

Handmade lace coasters aka “curveball”.

It seems silly, but I couldn’t think of a place to store these lovely, handmade lace coasters. They didn’t “fit” in with the stuff already in my drawers and cupboards.  I was worried that I would put them someplace and then forget where they had gone. Eventually I stashed them in a kitchen drawer.

The other major challenge I faced was projects embedded within other projects that made it perplexing to find starting points or resolution.  It was definitely a “chicken-and-egg” conundrum.  For example, I had filing to do, but I didn’t want to do the filing until I reorganized my filing system, which I couldn’t do until I figured out where to put it for my new home office configuration.  It got ugly at one point.

Projects led to other projects.  Note the copy of GTD in the bottom left hand corner of the picture near the couch.

Projects led to other projects. Note the copy of GTD in the bottom left hand corner of the picture near the couch.

Resolving curveballs and the projects-within-projects challenge led me to Tip #2: Keep Moving Forward.  Similar to starting the whole project, continually moving forward maintained my momentum and productivity.  With the filing-project challenge mentioned earlier I kept moving forward by:

  1. Identifying the documents and organzing them into piles, even though I didn’t have a place for them yet.
  2. Recording the projects in my spreadsheet (1 – Relocate filing system, 2 – Reorganize system, 3 – File).
  3. Breaking down the first project into small, manageable steps.

Stay tuned for next week’s installment Getting Organized: Seeing Results.

Visit Smart Info Management’s product page to download your own Projects and Actions Template.

Getting Organized: Getting Started (part 1/4)

Last summer I transitioned from a full-time 9-5 worker to being my own boss.  I was super excited, but also overwhelmed at how many things I needed to accomplish in a short period of time.  I also needed to make space for a home office, which meant purging or consolidating what I had to fit more stuff in a smaller space.

Even though I am naturally organized, and in fact make a living helping others declutter and organize their information, I’m always eager to learn about new methods and styles.  Many people had recommended David Allen’s book Getting Things Done: The Art of Stress-Free Productivity and I was curious to learn more about this system that has helped so many people. I decided to be the guinea pig, read the book and try the Getting Things Done (GTD) method.

From my work experience I know that finding a starting point is difficult.  When it comes to decluttering and organizing, I think many of us procrastinate because it feels overwhelming.  Sometimes each task seems like it’s actually part of a larger chain of never-ending projects that must be accomplished in a specific sequence.  This often gives us an excuse to avoid doing something that perpetuates a cycle.

Visual representation of procrastination cycle.

Visual representation of procrastination cycle.

In order to break the cycle it’s imperative to JUST START somewhere, anywhere.  I started, as the book suggested, by writing anything cluttering up my brain on its own sheet of paper and placing it in an “in-box”.  Basically I wanted to capture anything that would be on a “to-do” list such as tasks, errands, projects or communications that I needed to accomplish.  I allowed myself to be free with this exercise and wrote things as they occurred to me regardless of how large or small the task seemed, or even if I thought I had already put it in the box.

TIP #1: Preparation is Key, this includes your time.  I assembled an empty box, pens, pads and post-its so that I could record something the instant I thought of it.  Sometimes I would place physical items in the box that needed action, like filing.  I used a note app on my smartphone to record thoughts on the go.

The starting point- writing everything down and assembling it in one place.

The starting point- writing everything down and assembling it in one place.

About a week later I had a formidable pile of stuff to be processed.

A more accurate picture of the "to-do" pile.  As you can see my pile of stuff expanded well beyond the borders of my in-box.

A more accurate picture of the “to-do” pile. As you can see my pile of stuff expanded well beyond the borders of my in-box.

Stay tuned for next week’s installment Getting Organized: Dealing with Curveballs.

Patagonia: Tierra del Fuego – Glaciers

The second day of the cruise was reserved for glacial sightseeing.  In the morning we hiked around Pia Glacier, which our guides referred to as “The Prom Queen” because it’s so good looking.  Once again we boarded the zodiacs and zipped over to the shore for hiking and viewing.  Here’s a shot from the lookout point.

A view of Pia Glacier from the lookout point.

A view of Pia Glacier from the lookout point.

If you look closely on the right of the glacier you might notice the snow looks cleaner and fresher. The glacier calved before we hiked up to the lookout. Calving is a term used to describe the large chunks of ice that break off of glaciers.

At the lookout point I was once again reminded that it was summer and snapped this pic of some primrose heath berries and a dog orchid.

A few bright berries and a hidden dog orchid stood out in contrast to the greens and grays surrounding them.

A few bright berries and a hidden dog orchid stood out in contrast to the greens and grays surrounding them.

In the afternoon the boat cruised through the legendary Beagle Channel in what is called “Glacier Alley” because it offers so many close-up views of the glaciers. The boat glided under this rainbow as we approached.

The entryway to Glacier Alley in the famed Beagle Channel.

The entryway to Glacier Alley in the famed Beagle Channel.

In Glacier Alley, each glacier is named after a different European country. Just to make it fun, the boat crew played music while serving snacks and drinks themed to each country as we passed by. Sadly, most of the glaciers no longer reach the channel, but this one still does. I don’t remember the names of all the glaciers we saw in the alley, but I’m pretty sure this one is the Italia Glacier.

The only glacier in the alley to still reach the water.

The only glacier in the alley to still reach the water.

Next stop Cape Horn at the bottom of the world!

The Basics of Reading a Book

I was initially resistant to using e-readers but once I made the switch in 2012 I was hooked.  The decision to purchase an e-reader instead of another device that would allow me e-reading capabilities was determined based on the following reasons:

  1. I prefer the e-ink technology used for the screen. It’s easier on my eyes than backlit screens.
  2. I’m a bit old-fashioned and I like it that my e-reader is just a book.  It doesn’t do anything else so I’m not distracted by notifications and beeping, nor am I tempted to leave my ebook to surf the web or check messages.
  3. The battery lasts for about 3 weeks on a single charge.

My first e-reader was from Sony and I loved it.  It was easy to use and had buttons or screen swiping for navigating.  Best of all I only needed one library account to borrow ebooks.  After moving about a dozen times I started borrowing books from the library instead of buying them.  I refused to change my reading habits and still borrowed ebooks even though I knew that “moving” ebooks wouldn’t involve packing and backbreaking labor.

I recently switched to a KoboGlo and was dismayed to learn that borrowing library ebooks was not nearly as easy.  I had to to create an account with Kobo just to use the e-reader.  Then I discovered the e-reader couldn’t link directly to my local library as the Sony e-reader had.

To borrow ebooks from my library I performed the following:

  1. Create login/password account to use Adobe Digital Editions (required)
  2. Download Adobe Digital Editions to access the ebook format
  3. Install Adobe Digital Editions on my computer
  4. Access my library overdrive account to borrow ebooks
  5. Download ebook into Adobe Digital Editions
  6. Connect KoboGlo to computer
  7. Add ebooks from Adobe Digital Editions to KoboGlo

I now have 2 additional accounts to manage, plus all the steps involved to get ebooks onto the e-reader (steps 4-7).  However, if I had purchased books, I could have been reading on the KoboGlo within minutes of setting up the account.

Reading is one of my favorite hobbies.  When I switched to digital I wanted the process of borrowing and reading to be just as easy as it was in print. Although I do love the e-reader for many reasons, I sometimes find myself getting frustrated with all the setup and accounts required to something as basic as reading a book.