Silly Scraps: The Digital Edition

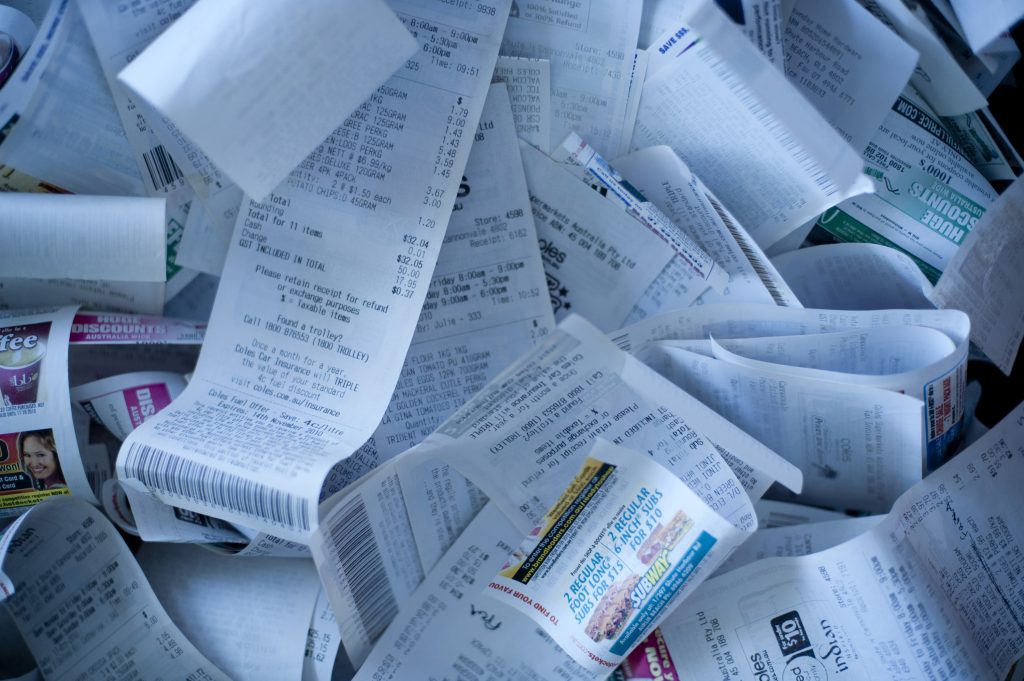
Last week one of my readers posted an insightful comment, reminding me of some terrific technology solutions for dealing with silly scraps of paper.

The first option is to avoid getting the paper by receiving things electronically instead.  Many companies now have the option to email receipts.  Or if you have an account, it’s likely all of the invoices and orders would be accessible online through your profile.  I use both of these options whenever possible.

Apps can also be a wonderful way to deal with little scraps of paper, especially if you are a small business owner who is on-the-go all the time and needs to retain all those tiny receipts.  Prior to investing time, money, and energy into setting up an app, it’s important to understand what your requirements are.  Many apps will allow you to scan, or photograph, a receipt right to your smartphone for instant processing.  Some of them are even quite good at automatically transferring information (e.g. amount paid, date, vendor name, etc.) from the receipt to a tracking system.

If you decide to go for an option to scan, or photograph, receipts (and other scraps of paper), here are some tips.

  1. Make sure the scanned image, or photograph, can be searched.  Typically this means the paper has been scanned with OCR [optical character recognition].  This will allow the text on the scan to be searched.
  2. If you need to have the receipts available for your taxes, check the IRS, or CRA, requirements about accepting scanned reproductions in place of a paper original.  In Canada, the CRA will accept the scans, but require the electronic reproductions to be made according to certain procedures.  Read about it here.
    1. Ensure the scans/photos will be useful for your accountant, or bookkeeper, if you use one.

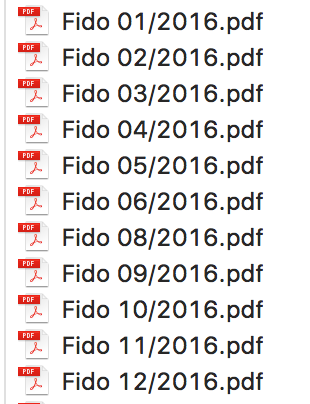
In the end, regardless if you prefer to maintain your silly scraps in a paper or electronic format, they will still need to be managed.  For electronic documents, this means having a way to search content, naming them appropriately, and storing them in a place that is secure.  And similar to my set up with paper documents, I prepare my electronic spaces too.  For example, I have a folder in each email account where I store receipts until I’m ready to process them.  Another trick is to set up rules in email to automatically sort them.

Silly Scraps of Paper

I’ve been trying hard to become more electronic in my daily interactions and transactions, but at the end of the day I still seem to have loads of paper in my pockets and wallet.  I’ve tried to set up some experiments to analyze what I actually collect on a daily basis, but I found it too annoying.  I usually end up throwing out, or filing, the scraps long before I do any analysis.

Accumulation of paper receipts.

As a small business owner, I must now dutifully collect and manage most paper receipts for my taxes.  I know from experience that if I don’t make something easy for myself, the chances of it getting done are pretty slim, especially if the task is tedious.  Over the last 4 years I’ve refined my process for dealing with paper (and electronic) receipts.  My system is not fancy, but it’s fast and easy, increasing the chances of me actually doing it.

After years of keeping a pen in my mailbox to instantly label mail “return to sender”, I decided to replicate this practice (rule 3 below).  Here are 3 quick and easy rules I created.

  1. I dedicate places to collect and store paper receipts when I’m on the go.  Typically I designate the inside pocket of whatever jacket or purse I have with me, or a special spot in my wallet.  I have multiple spots so I always have an option regardless of what I’m wearing or doing.  This is especially useful when I’m traveling.
  2. I dedicate places in my home to store the paper receipts.  Again, I have multiple spots to ensure I always have a quick access spot to dump my collected receipts.  I have one bowl near the front door, a common spot to unload my wallet.  I have another box in my office, which is the “official” holding spot for the receipts until they get entered as expenses.
  3. I prepare the dedicated places with the tools I need (e.g. pen, stapler, labels, envelopes, post-it notes, etc.).  For example, I like to staple the original receipt to the credit card slip.  Then I use a pen to write the amount and a short description directly onto the receipt, in case the receipt ink fades.  Each box contains a stapler and a pen because this makes it easy for me to prepare receipts instantly.

This process saves me hours of time in searching each year.

Document Naming Tips

Overt time I’ve realized the importance of using standardized naming conventions for documents and folders.  Essentially, “standardized naming conventions” means using a set of rules to create names so they remain consistent and meaningful over time. It sounds like basic and easy practical advice to follow, but even I feel stumped by it sometimes.  The rules I’ve created definitely help, especially when saving draft documents, or notes that contain more than one topic.  It takes a few extra seconds to name a document properly, but saves me minutes (and hours) of time searching for it in the future.

Last year an exhibit at the Royal Ontario Museum featured a newly discovered dinosaur, plus the standardized naming convention rules for naming the new dinosaur species.

Why are good document names important?

They help us locate our documents quickly, with a high rate of success. Standardized document names are beneficial regardless if we prefer searching (i.e. entering keywords into the search box) or browsing (i.e. following a folder chain).  And they’re incredibly useful when co-authoring, or sharing, documents.

Standardized naming will sort documents alphabetically, naturally grouping ones with similar titles.  This is useful for keeping track of recurring documents, or drafts with versions (e.g. v1, v2).

What makes a document name good?  

Good document names are descriptive of the content, have meaning, and are created consistently. Document titles such as “misc. stuff,” “notes Jan 17, 2017,” or “important to dos” quickly lose relevance and become ineffective for locating the document.

Consistency is critical.  I use standardized naming for monthly bills to find them quickly and to see if I’m missing something.  Here is an example of how I name monthly phone bills.  Instantly, I can see July is missing.

How to create good document names? 

  1. Develop standardized naming convention rules for your most commonly used documents.
  2. Structure document titles in a way that aids finding the documents.  I tend to use the document type as the first part of my naming convention (e.g. Template + type of template (handout, expense form, report, etc.) or Vendor name + type of expense + date).
    1. Put the piece of information most important (meaningful) to you at the start of the document name.  It could be the project name, the subject, the document type, the expense type, the vendor, the date, etc.
  3. Write the date according to ISO standard: yyyy-mm-dd (largest to smallest).
  4. Educate collaborators about the rules.
  5. Use them.

Dealing with Digital Photos

Some years ago I designated iPhotos as my master digital photo repository. iPhoto was the photo app that came with my MacBook Pro. As a first step, I had to understand how the app worked so that I could organize the photos how I liked to see them.

By default, iPhoto would group my photos by “event”, or in other words, by the date the photos were taken OR imported onto my computer (i.e. Email downloads or sometimes transferring from one device to another).  Initially I thought this was kind of confusing and not all intuitive to how I would think to find photos.

However, I quickly learned how to rename events and group them together in a way that made more sense to me.  Often I liked to group photos together by location or activity, rather than the exact date they were taken.

I wasn’t entirely satisfied with the Event option, but it worked well enough.  I intentionally avoided upgrading my operating system specifically because I didn’t want to use Photos, the new version of the iPhotos app.

The day I had LASIK, I mistakenly updated my operating system and ended up with Photos, likely because I was still on Valium and couldn’t really see.  At first I couldn’t find any of the Events that I had spent hours preparing and naming meticously from iPhoto.  I was so dismayed that I stopped organizing my digital photos and the pile up started.

I decided to work on my digital photos for my Spring Cleaning Challenge and that meant learning more about Photos.  I quickly discovered a folder called “iPhotos” that contained all my events.  However, Photos offers a variety of options to organize photos including Albums, Moments, Memories, Collections, Years, etc.  I find the options overwhelming and I’m still making sense of them.  Plus I now I have to integrate my old system of Events into whatever the equivalent is in Photos.

I’m still committed to aggregating all my photos in one place, but it’s going to take a bit longer to get there with the current options available.  For a long time I always thought the biggest challenge with digital photos was the volume, but now I think we also lack adequate tools.  I know that AI has made great improvements to help get through the volume faster, so maybe that will be a good option.

AI and Driving

I don’t own a car.  Typically when I rent one, I rely heavily on Google Maps, or Waze, to help me get around.  The challenge I run into is that I can’t navigate and drive at the same time.  It’s also illegal and dangerous, so even if I was talented enough to manage both simultaneously, I still wouldn’t do it.  However, the apps are pretty smart.  Not only can the apps give me directions while I’m driving, I can also reroute my path on the go.  My big problem is I never think to practice with the apps until I’m actually in the car heading somewhere, which is not the best time to start figuring out a new app.

A few weeks ago I was returning a rental car and I decided to just start using Google Maps with the voice commands.  In order to communicate with the app, every question or request must start with the phrase, “ok, Google.”  Even though I was the only one in the car, I felt a little silly speaking the magic words aloud.

I was about 10 minutes from the car rental place when I remembered that I had to fill up the gas first.  “Ok, Google,” I commanded, while driving through morning rush hour traffic, “find me a gas station.”  And just like that, the app reconfigured the directions to guide me to a gas station on the way to the car rental place.

I continue to be amazed by the advances in artificial intelligence (AI) and the many ways it is starting to impact my life, on both a personal and professional level.

In the end, Google turned out to be a pretty good navigator. The voice is a little annoying, and sometimes I get too many directions, but it was very helpful.  I’ve heard that Waze is better for navigating through traffic, but I have yet to master the voice commands in that app.  Maybe the next time I’m navigating, instead of driving, I’ll have a chance to figure it out.

I’m pretty curious about the self-driving cars, though for someone like me that rarely drives, it probably won’t be too different from just getting into a cab.  I wonder if the self-driving cars will come equipped with robotic arms to help passengers load their luggage and parcels into the trunk, the way humans help each other out now.

The Problem with Passwords

In short, the problem with passwords is that there are too many of them!  And the risk of not having a good one leaves our valuable information exposed and vulnerable.  We’re always cautioned to create passwords that are:

  • unique
  • ~12 – 16 characters
  • a combination of upper/lowercase letters, special characters, and numbers
  • difficult to crack, but yet memorable for us

I have close to 100 passwords and I take it seriously.  Imagine locking a vault of money with a luggage lock, which is akin to using a password like “123456” to secure an online bank account.   Years ago I developed a system to create unique and difficult passwords that I could still remember.  Here’s how I did it.

Every year I create a new pattern accompanied by ~4 rules.  With this system I only have to remember the annual pattern (and rules) to recall passwords.  This has helped me to remember most of my passwords, even ones a few years old.

Rule #1: I select a 4-digit number with meaning, like a birth year or the current year.  Then I replace some numbers with special characters or letters.  For example, if I pick “2017”, I might replace the “0” with “o”, and the “1” with an “!”.

Rule #2: I decide how to select a different word for each password.  Usually I pick something descriptive of the account (e.g. for my smartphone provider, the word might be “phone” or “internet”).

Rule #3: pattern construction.  I like to break up the word and intersperse numbers or special characters between the letters.  Using the two examples above, “2o!7” and “phone”, one possible pattern could be ph2o!7ONE.  In essence every password will start with the first 2 letters of the selected word in lowercase (see Rule 2), then the modified 2017, and any remaining letters are capitalized.

I run into challenges when a website/application won’t let me create passwords according to my pattern, such as a restriction on using special characters, or a length requirement.  One website required me to start my password with letters, even though that year’s pattern started with a number.  This is when I use Rule #4, to deal with exceptions.

Recently I started reading a lot more articles about using biometrics for passwords (e.g. fingerprints, selfies, even heart beats, etc.), and other best practices like using 2-factor authentication.

In the end, I decided I’m going to invest in a password manager that works across all my devices.  Stay tuned for updates.